The single most common question we get about mounts is some version of "will this work with my computer?" - usually about a Garmin, a Wahoo, a Coros or a Magene, and usually from someone who has been staring at a product page that doesn't say.
The good news is that mounting is far less fragmented than it looks. There are really only two interfaces you need to understand, plus one measurement. Get those three things straight and you can work out for yourself whether any mount will fit any device.
The quarter-turn interface, and why most computers share it
Look at the back of a Garmin Edge. There are two small tabs that slot into a matching recess on the mount, and you twist ninety degrees to lock it. That's the quarter-turn interface, and it has effectively become the industry standard.
Wahoo's Elemnt and Bolt units use a compatible quarter-turn pattern. So do Magene's computers, iGPSport, and most of the newer entrants. Some brands ship a small adapter puck in the box rather than building the tabs into the case, but the end result is the same.
So when someone asks whether a mount works with both a Garmin and a Coros, the answer is almost always yes - because they're both twisting into the same shape. What you're actually buying when you buy a "Garmin mount" is a quarter-turn mount, and the brand name on the box is closer to marketing than specification.
The exception worth knowing: a few proprietary systems exist, mostly on integrated cockpits from bike manufacturers where the mount is moulded into the stem faceplate. If your bike came with a mount already built into the cockpit, check what interface it presents before buying anything else.
The GoPro interface, and why it's on the underside
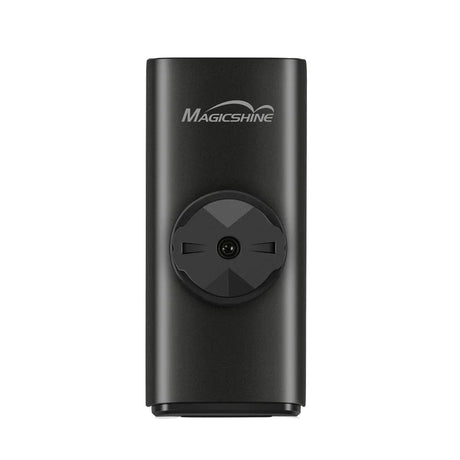
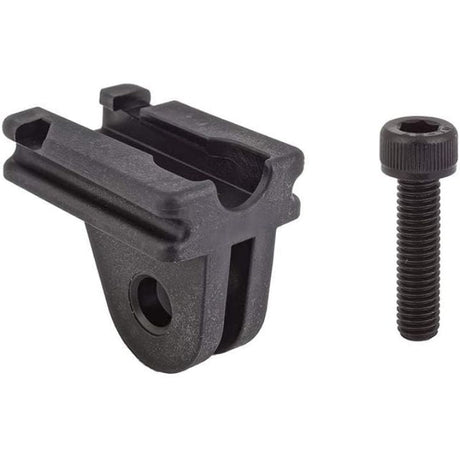
The second interface is the GoPro two-prong: two flat fingers with a hole through them, secured with a thumbscrew. It came from action cameras and got adopted by almost everyone making lights and accessories.
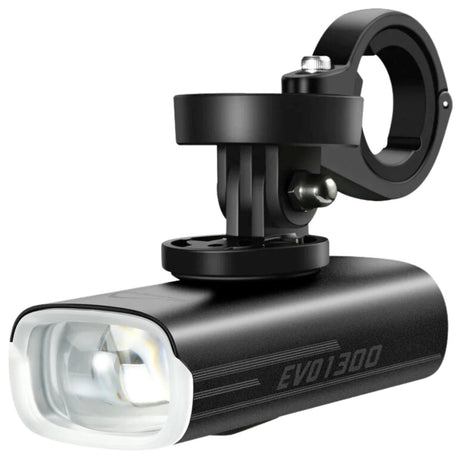
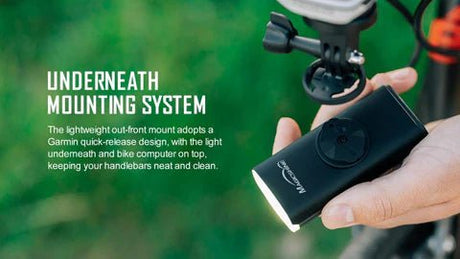
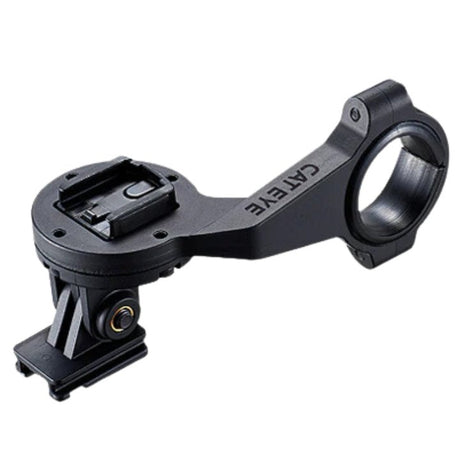
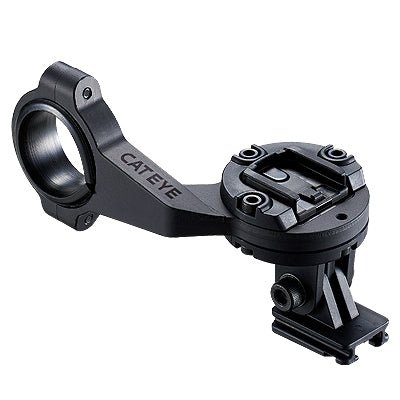
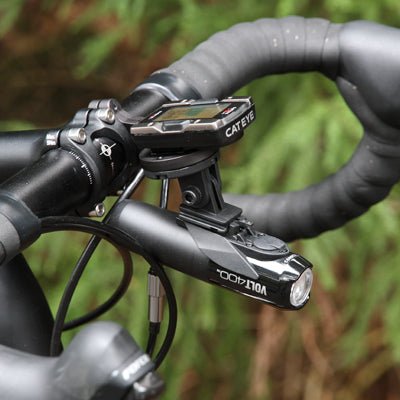
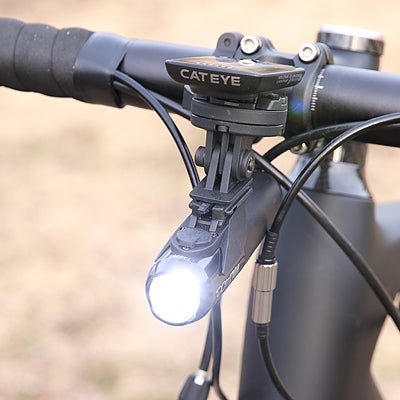
Most decent out-front mounts have a quarter-turn on top for the computer and a GoPro interface underneath. That's the design that lets you run a computer and a front light off one bar clamp, or a computer on top and a camera below.
This is worth understanding because it changes what you buy. Rather than a bar-mounted light clamp competing for space with a computer mount on a handlebar that's already crowded with cables, you hang the light under the computer where it also sits in cleaner air and points where you're going.
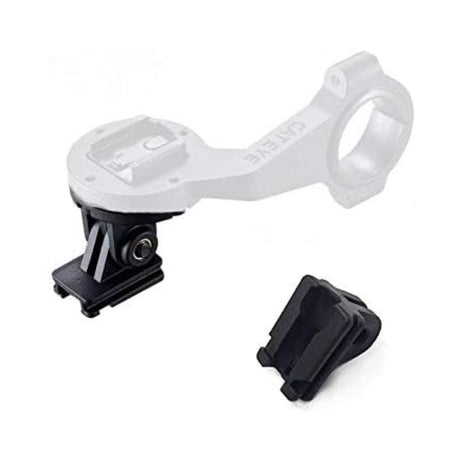
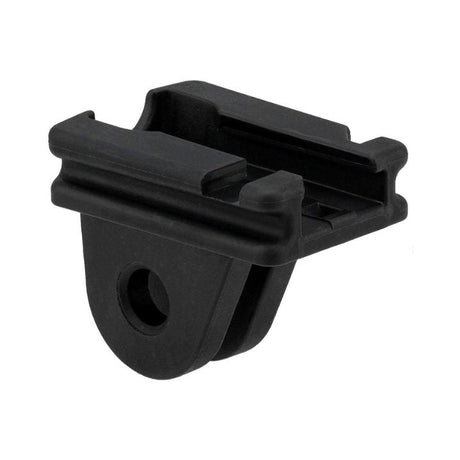
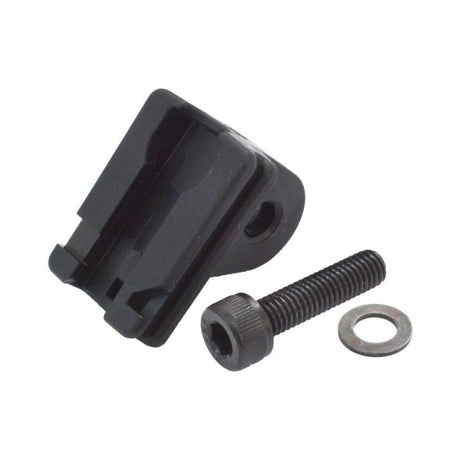
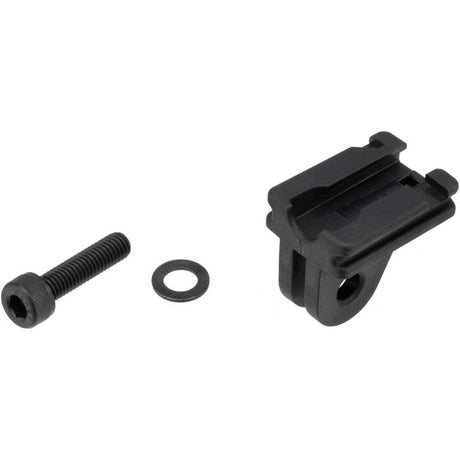
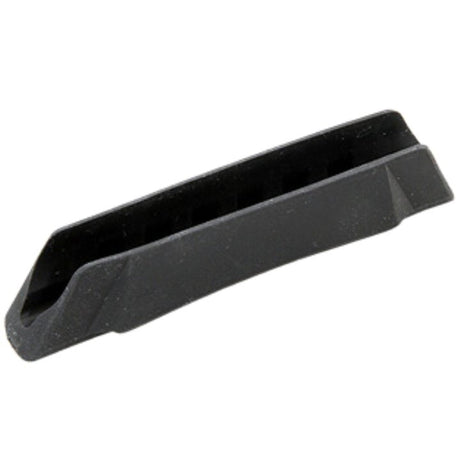
The Magicshine TTA and the Lezyne Forward Mount with GoPro both do exactly this. If you already have a mount and just need to convert between interfaces, the Cateye Garmin-to-GoPro bracket is a small plastic part that bridges the two, and it costs almost nothing.
The measurement: your handlebar diameter
This is the one thing that will actually stop a mount from fitting, and it's the thing people forget to check.
Handlebar clamp diameter at the centre - where a mount would sit - is 31.8mm on the overwhelming majority of modern road, gravel and hybrid bikes. Some mountain bars run 35mm. Older bikes may be 26.0mm. Most mounts ship with shims to cover more than one size, but not all of them do.
Measure before you buy. A vernier caliper is ideal; failing that, wrap a strip of paper around the bar, mark where it overlaps, and divide the length by 3.14.
Aero bars and integrated cockpits are the complication. If your handlebar has a flattened or teardrop profile rather than a round one, a standard round clamp won't tighten properly on it. You need a mount designed for that shape - the Magicshine Maa Aero is built for exactly this case.
Out-front or stem-top?

Out-front mounts hold the computer forward of the bar on an arm. Stem-top mounts sit it on the stem itself.
Out-front is better for most riders, for three reasons that are all fairly mundane. You can see the screen without dropping your head as far, which matters more than it sounds over a long ride. It frees up bar space. And it puts the unit somewhere you can reach and press buttons without moving your hand off the bar.
The Cateye OF-100 is the sensible default and what we sell most of. The Magene out-front is a similar shape. Step up to the Magicshine Mas or the TTA-C integrated mount if you want something stiffer with the light interface underneath.
Stem-top mounts still have their place: TT and triathlon setups where the computer sits between the aero bars, and riders who've had an out-front arm snap in a crash and want something less exposed. The Zipp Quickview TT covers the first case.
One practical note on out-front mounts: check the arm length against your computer. A large unit on a short arm can foul the bar or sit at an angle you can't read cleanly.
Rear lights, and the aero seatpost problem

This comes up constantly and deserves its own section, because the standard answer doesn't work for a lot of modern bikes.
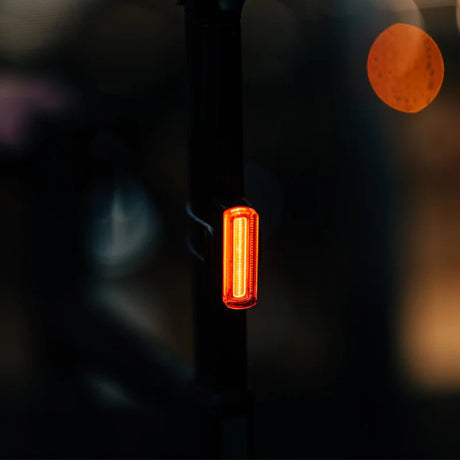
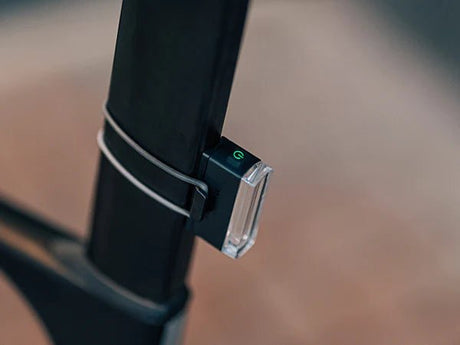
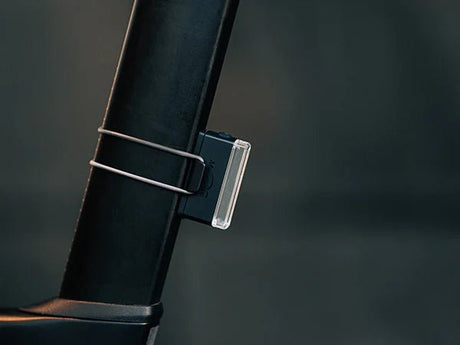
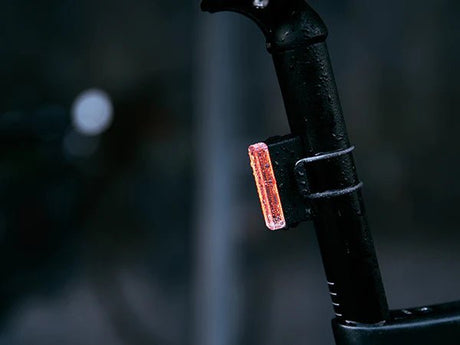
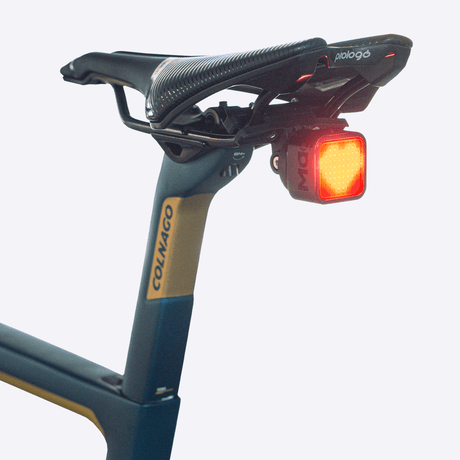
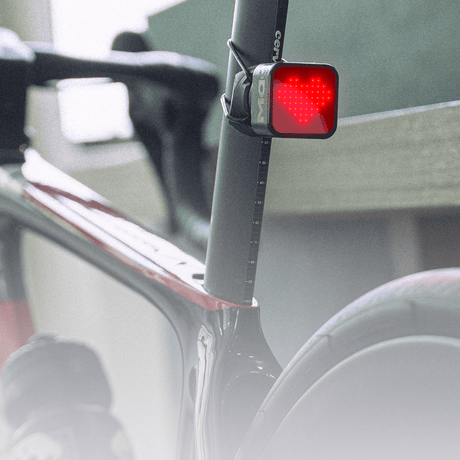
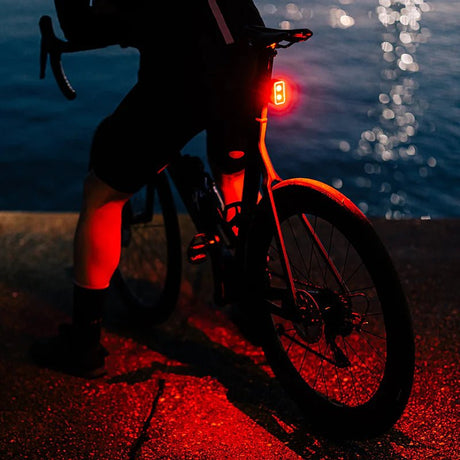
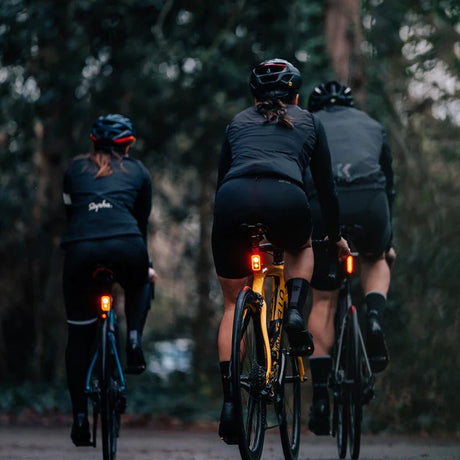
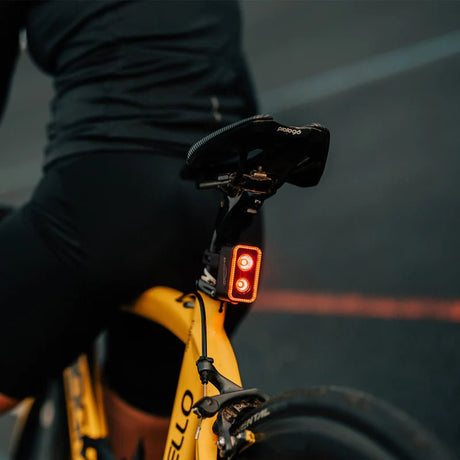
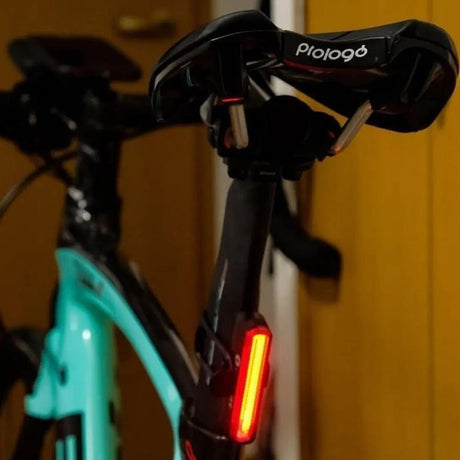
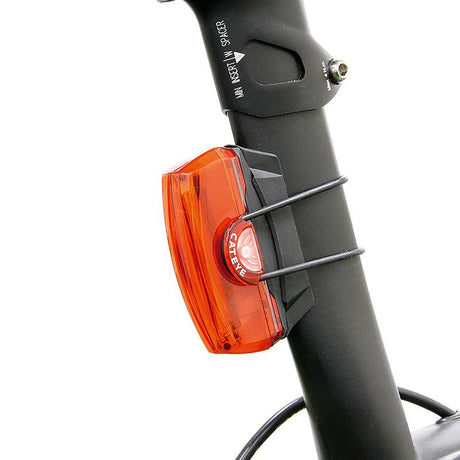
Most rear lights ship with a rubber strap or a clamp intended for a round 27.2mm seatpost. If your bike has an aero seatpost - a D-shape, a teardrop, a Pinarello or Cervelo-style flattened profile - that strap will either not tighten properly or will twist under vibration until the light is pointing at the ground.
You have two workable options.
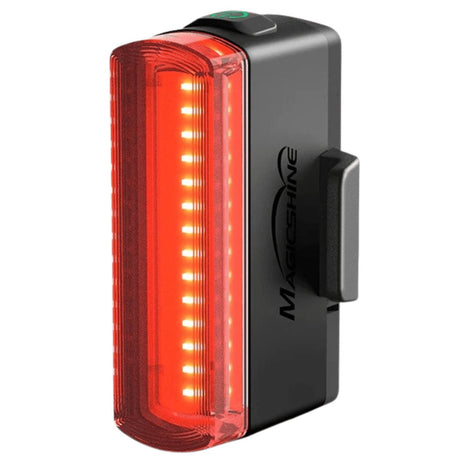
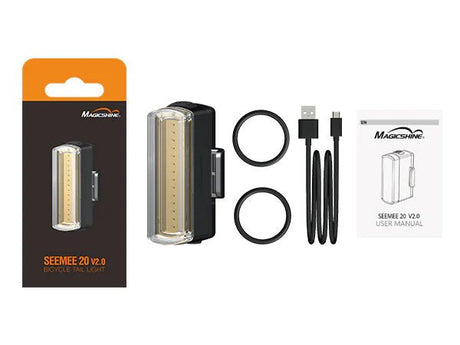
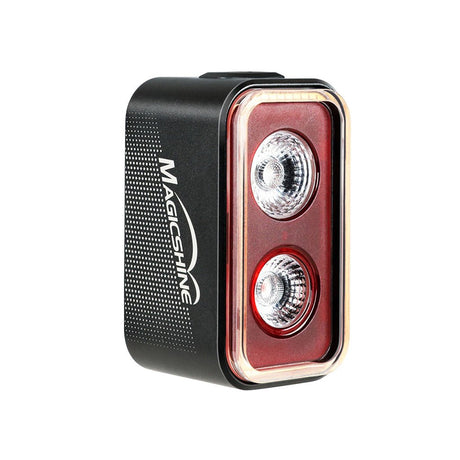
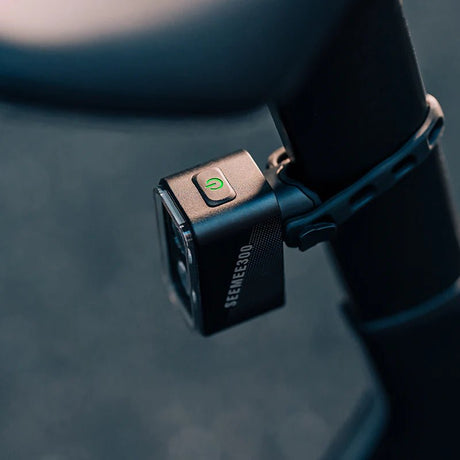
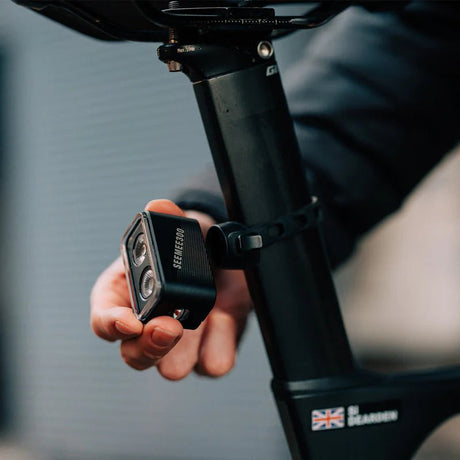
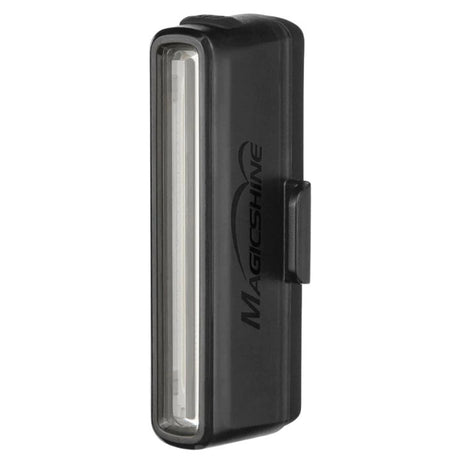
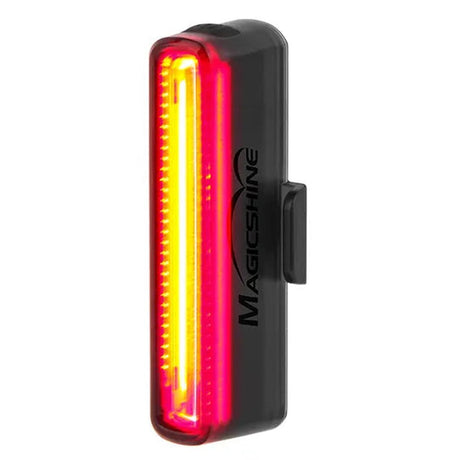
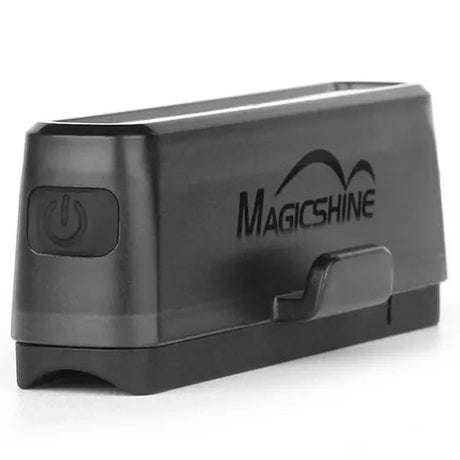
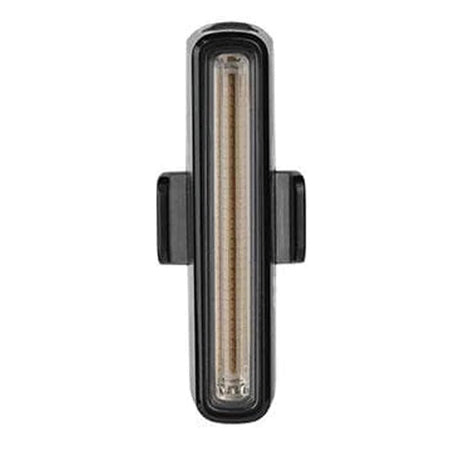
The first is a mount kit designed to grip a non-round post. The Magicshine Seemee mount kit covers several post shapes and is the cheap fix.
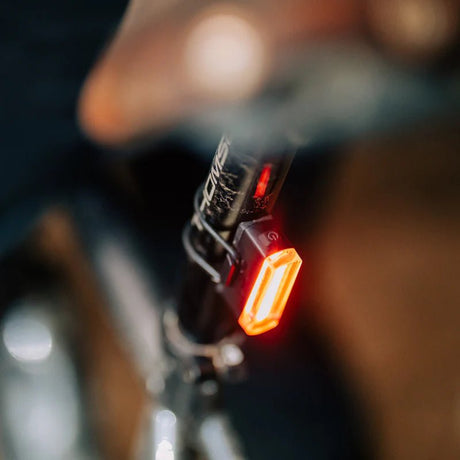
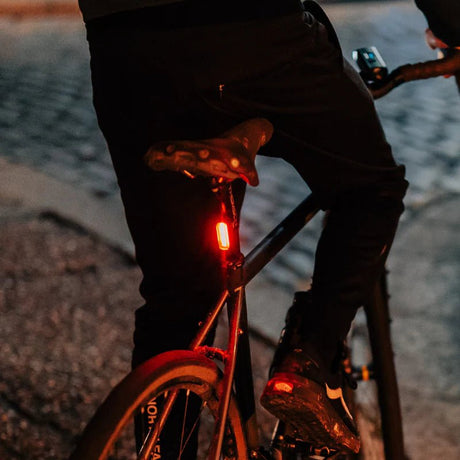
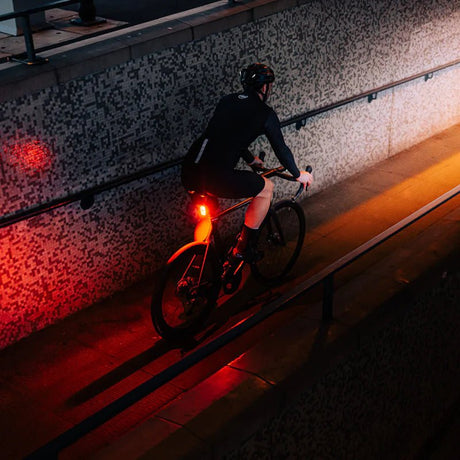
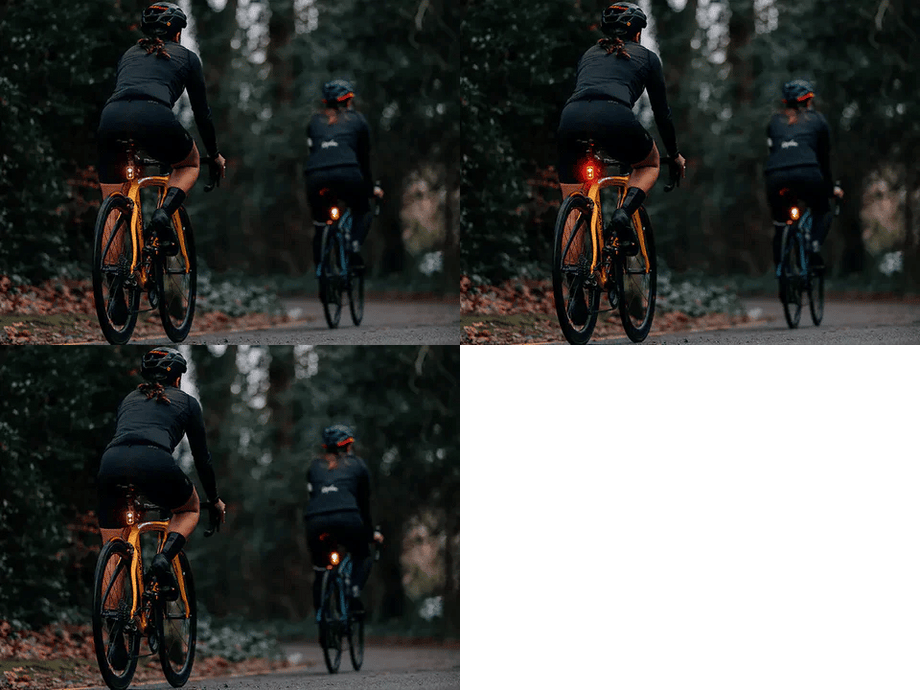
The second, and generally the better one, is to move the light off the seatpost entirely and onto the saddle rails. A saddle rail mount is completely indifferent to what shape your seatpost is, keeps the light clear of a saddle bag, and puts it at a height drivers actually see. If you run a saddle bag at all, this is the option to pick.
There's also a case for not mounting it to the bike at all. A backpack clip puts the light higher than any bike-mounted position, which is more visible in traffic - worth considering if you commute with a bag.
Radar taillights
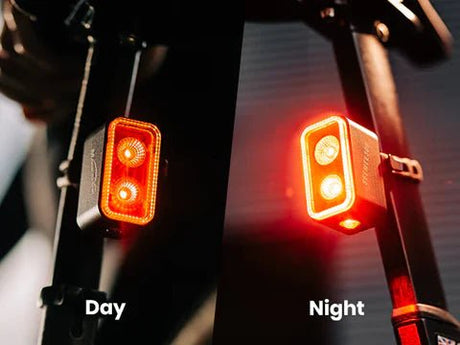
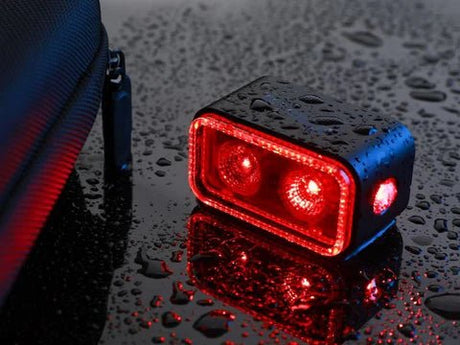
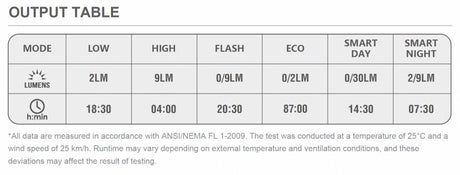
Radar units detect vehicles approaching from behind and push an alert to your head unit. They're genuinely useful on Indian highways where you can't always hear a vehicle over wind and traffic noise.
Two things to check before buying one. First, mounting - a radar unit needs to sit level and point straight back, so the aero seatpost problem above applies with more force here. A tilted radar reads the road badly. Second, your computer needs to support the radar protocol; most current Garmin, Wahoo and Magene units do, but confirm for your specific model rather than assuming.
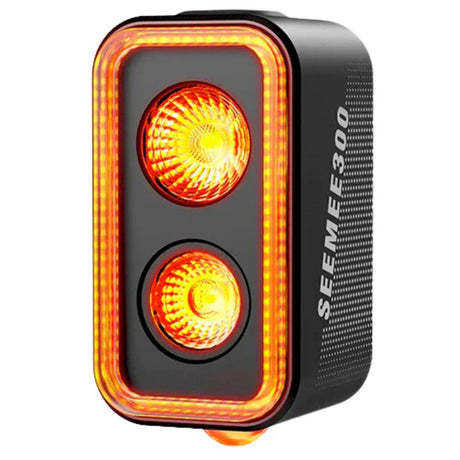
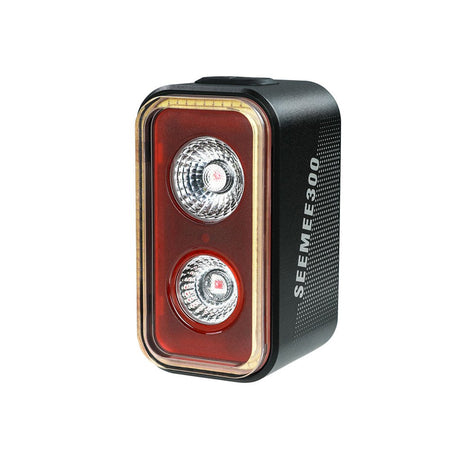
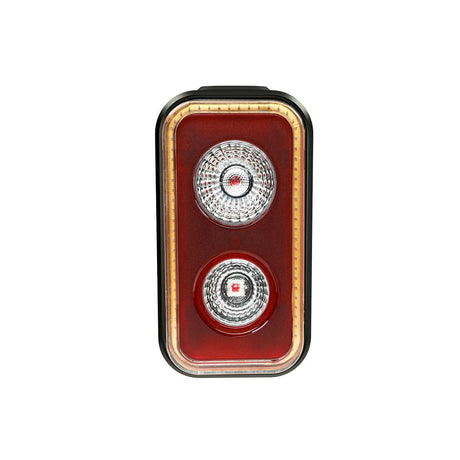
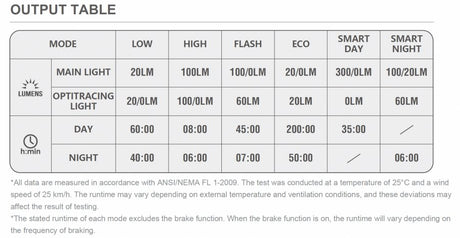
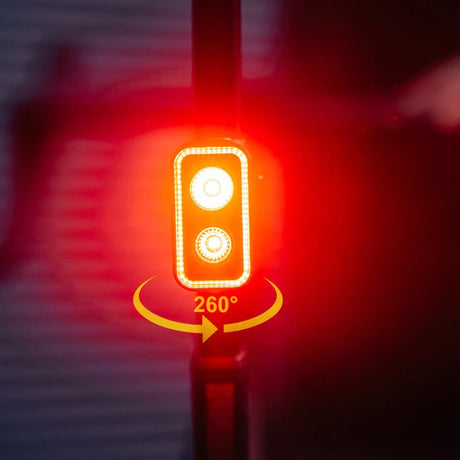
The Seemee 100AD is the accessible entry into radar. The Seemee R300 sits at the top of the range.
Helmet mounting
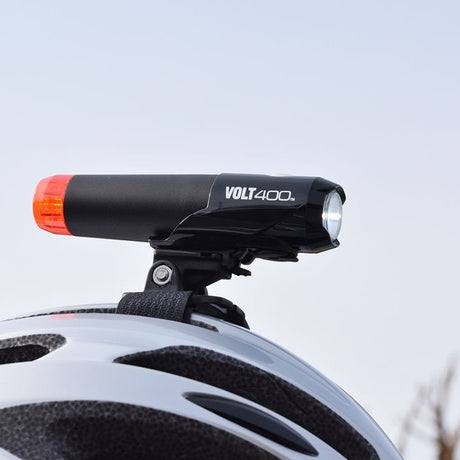
A helmet-mounted light does something a bar-mounted one can't: it points where you look. On a dark corner, that's the difference between seeing the exit and guessing at it.
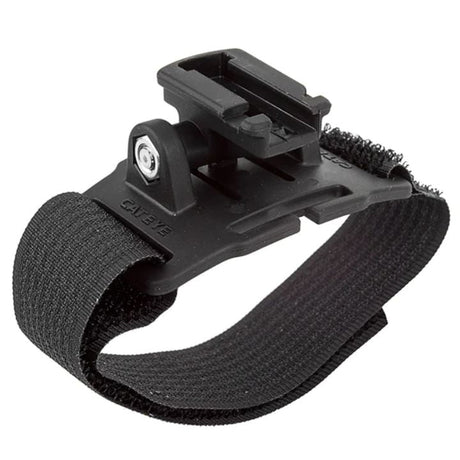
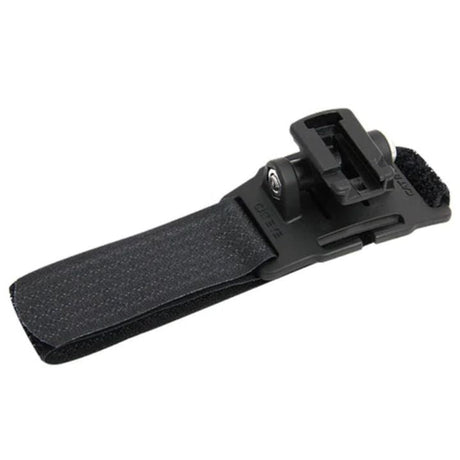
It doesn't replace a bar light. Bar lights throw a wide, stable pool of light that shows you road surface and potholes; a helmet light is a spot that follows your head. Riders doing serious night distance run both. A helmet mount attaches to the vents with straps and adds very little weight.
Before you buy anything, check these four
Your bar diameter. 31.8mm, 35mm, 26.0mm, or a non-round aero profile. This decides more than anything else.
Your computer's interface. Almost certainly quarter-turn. Check whether it's built into the case or whether you need the adapter puck that came in the box.
What else needs to go on there. If you want a light or camera under the computer, buy a mount with a GoPro interface now rather than replacing it later.
Your seatpost shape, for the rear light. Round or aero. If aero, plan for a saddle rail mount rather than fighting a strap.
If you're unsure about any of these for your specific bike, ask TBA Guide with your handlebar shape, seatpost shape and which computer you're running. That's usually faster than working through spec sheets, and we'd rather sort it before you order than process a return afterwards.
FAQ
Will a Garmin mount fit a Wahoo computer?
Yes. Wahoo's Elemnt and Bolt units use a quarter-turn pattern compatible with Garmin mounts, as do Magene, iGPSport and most current brands. What you are buying when you buy a Garmin mount is a quarter-turn mount, and the brand name on the box is closer to marketing than specification.
What torque should I use on a bike computer mount bolt?
Typically 2 to 4 Nm, and it is worth using a torque wrench. Most out-front mounts clamp to the handlebar with small M4 or M5 bolts, and overtightening on a carbon handlebar can crush or crack it. Check the figure printed on the mount or in its instructions.
Will a computer mount fit integrated handlebars?
Often not. One-piece integrated cockpits have a non-round or flattened profile that a standard round clamp cannot grip properly. Many manufacturers sell a mount designed for their specific cockpit, and some integrate one into the bar itself. Check what your cockpit takes before buying anything generic.
Can I mount a light on a GoPro mount?
Yes, if the light has a GoPro-style two-prong fitting, which most modern front lights do. That is precisely why good out-front mounts have a quarter-turn on top and a GoPro interface underneath, so a computer and a light share one bar clamp.
Do out-front computer mounts break easily?
Aluminium ones rarely fail in normal use. Plastic ones can crack in a crash, which is arguably a feature since the mount breaks instead of the computer or handlebar. Replace any mount that has been crashed rather than trusting it, because a hairline crack will fail later without warning.
What handlebar diameter do I need for a bike computer mount?
31.8mm on the overwhelming majority of modern road, gravel and hybrid bikes. Some mountain bars are 35mm, and older bikes may be 26.0mm. Most mounts ship with shims covering more than one size, but check before buying, especially for aero or non-round bars.
Can I fit a bike computer between aero bars?
Yes, using a TT or stem-top mount designed for it. Standard out-front mounts sit forward of the handlebar and do not work with an aero cockpit. A dedicated TT mount places the computer between the extensions where you can read it in a tucked position.
Why does my computer mount creak?
Usually the bar clamp rather than the mount itself. Grit between the clamp and handlebar, or a dry interface on a carbon bar, will creak under load. Remove it, clean both surfaces, apply carbon assembly paste if the bar is carbon, and retighten to the correct torque.