Short answer: set your saddle so that, with the ball of your foot on the pedal at the bottom of the stroke, your knee still has a slight bend. For a first number, multiply your inseam in centimetres by 0.883, and set that distance from the centre of the bottom bracket to the top of the saddle. Then check it on the bike and adjust in 2 to 3mm steps. And if you can sit on the saddle with both feet flat on the ground, it is almost certainly too low.
Saddle height is the single adjustment that affects comfort, power and knee health more than any other, and it is the one most riders have never checked since the day the bike arrived. This guide covers how to find the right height, how to measure it properly, and the things that quietly change it without you noticing.
- Why a few millimetres matter
- The feet-on-the-ground myth
- Start with a number: your inseam
- How to measure saddle height on the bike
- Then check it by riding
- What changes your saddle height without you touching it
- Adjusting it safely
- Write your numbers down
- FAQ
- When to get a fit
Why a few millimetres matter
Your saddle height sets the range your knee works through on every pedal stroke, and you make roughly five thousand of those an hour. A position that is a little off does not feel wrong on any single stroke. It adds up.
Too low and your knee bends further than it should at the top of the stroke, which loads the front of the knee and wastes the strongest part of your leg's range. You feel cramped, and your thighs tire early.
Too high and your leg overextends at the bottom, so your hips rock from side to side as each foot reaches for the pedal. That loads the back of the knee and the lower back, and it is a common cause of saddle soreness, because you are sliding across the saddle all ride.
A change of 5mm is large, not small. Most riders who adjust carefully end up moving 2 or 3mm at a time.
The feet-on-the-ground myth
This is the single most common saddle height mistake we see, especially from riders coming to a road bike or a hybrid from an ordinary city bicycle.
On a correctly set bike, you should not be able to put both feet flat on the ground while sitting on the saddle. At most, the tips of your toes may touch. When you stop, you slide forward off the saddle and stand over the top tube with one foot down.
If your saddle is set low enough to sit and touch the ground, your leg is bent far too much while you pedal, and you are giving away a large share of your power and loading your knees every time you ride. It feels safer, which is why people set it that way. Learning to step forward off the saddle at a stop takes a few rides and is worth it.
Start with a number: your inseam
Setting height by eye tends to land you too low, because a lower saddle feels more secure. A measurement gives you an honest starting point.
Measure your inseam properly. Stand barefoot with your back against a wall and your feet about 15cm apart. Push the spine of a hardback book firmly up between your legs, as firmly as a saddle would press, and keep it level. Have someone measure from the floor to the top of the book. Do it twice and take the average. This number is usually a few centimetres longer than your trouser inseam.
Then multiply by 0.883. This is the widely used LeMond method, and the result is your starting saddle height, measured from the centre of the bottom bracket to the top of the saddle. A rider with an 82cm inseam gets 72.4cm.
Treat it as a starting point rather than an answer. It does not know your foot length, your flexibility, your crank length or how thick your shoes and pedals are, and plenty of well-fitted riders end up a centimetre either side of it. What it does is stop you from starting somewhere wildly wrong.
How to measure saddle height on the bike
You need a tape measure and ideally someone to hold the bike upright.
- Find the centre of the bottom bracket, the axle the cranks turn on.
- Measure from there, along the line of the seat tube, to the top of the saddle at the point where you actually sit, roughly in the middle of the saddle.
- Not straight up vertically. On most road bikes the seat tube leans back, so a vertical measurement reads short.
If your frame has a sloping or curved seat tube, extend the line of the seatpost down towards the bottom bracket and measure along that. Whatever method you use, use the same one every time, because the number only matters as a comparison.
Then check it by riding
A number gets you close. Your body finishes the job.
Set the saddle to your starting height, then ride for fifteen minutes and watch for the signs covered in our guide to the signs your position is wrong: whether your knee keeps a slight bend at the bottom of the stroke, whether your hips rock, and where any knee discomfort sits. That article also covers the heel method, which is a useful cross-check against the inseam number.
A trainer makes this much easier, because you can ride steadily and have someone watch your hips and knee from the side without traffic to think about.
What changes your saddle height without you touching it
This is the part almost nobody tells you. Your saddle height can be right one month and wrong the next without anyone moving the seatpost, because what matters is the distance from the saddle to the bottom of your foot at the pedal, and several things change that.
- New shoes. Sole thickness varies between models. A thicker sole effectively lowers your saddle, a thinner one raises it.
- New pedals or cleats. Road cleat systems and two-bolt SPD systems stand your foot at different heights above the pedal axle. Switching from flat pedals to clipless, or between clipless systems, is a reason to recheck. Our pedal and cleat guide covers the systems.
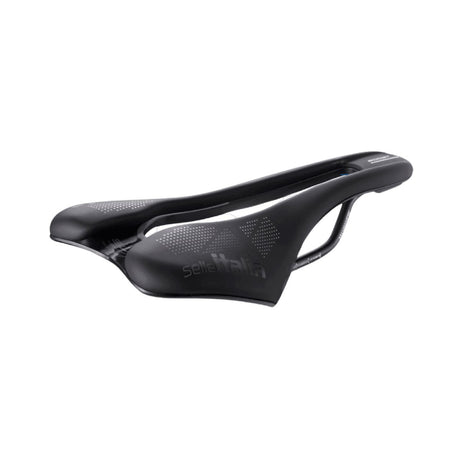
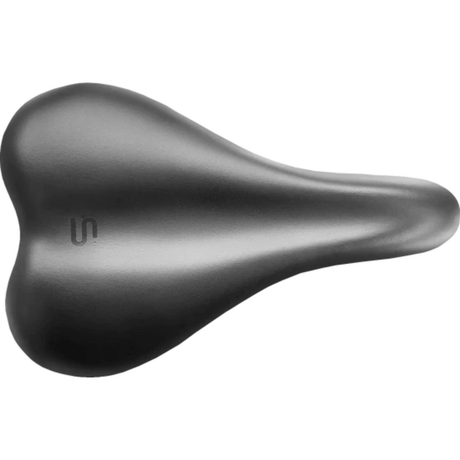
- A new saddle. Saddles differ in how tall they stand above the rails, and in how much the padding compresses. Measure the old one before you swap, then set the new one to the same number at the top of the saddle.
- Different crank length. A shorter crank lifts the bottom of the pedal stroke by the difference in length, so going from 172.5mm to 170mm cranks means raising the saddle about 2.5mm to keep the same leg extension. Our crank length guide explains the trade-offs.
- A seatpost that has slipped. Posts creep down a few millimetres at a time, too slowly to notice from the saddle. A strip of tape at the frame is the easiest way to catch it.
Adjusting it safely
- Mark first. Put a strip of tape on the seatpost at the top of the frame before you loosen anything, so you can always get back to where you started.
- Move 2 to 3mm at a time, and give each change three rides before judging it. A correct change can feel odd at first.
- Never go above the minimum insertion mark printed on the seatpost. If you need to, the post or the frame is too short for you, and running it past the mark risks breaking the frame.
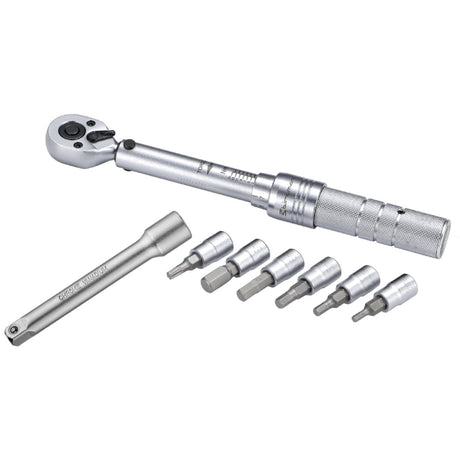
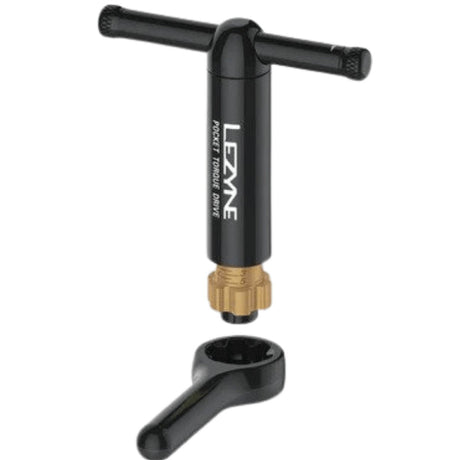
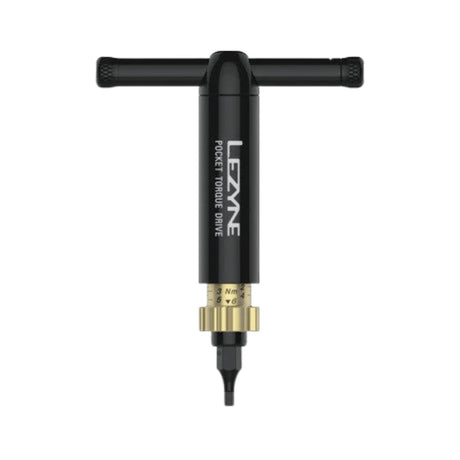
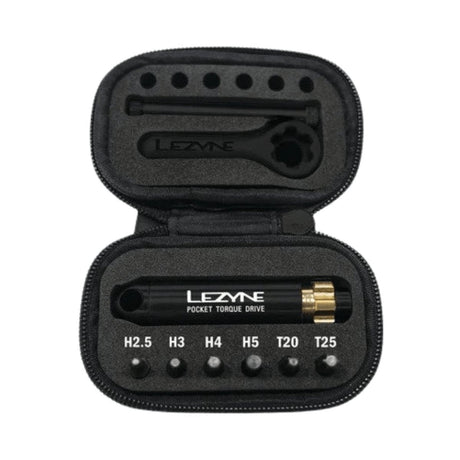
- Tighten to the printed torque. Seatpost clamps, especially on carbon, have a torque limit marked on them, usually in the region of 5 to 7 newton metres. Overtightening crushes carbon silently. A torque wrench removes the guesswork, and our torque specifications reference lists typical values.
- Use carbon assembly paste on carbon posts or frames. It adds grip so the post holds at the correct torque instead of needing more. Juice Lubes Carbon Juice at ₹890 and Dynamic Carbon Assembly Paste at ₹199 both do the job.
Saddle height and saddle fore and aft position are separate adjustments. Change one at a time, and if you have moved the saddle forward or back recently, recheck the height afterwards, because the two interact slightly on a sloping seat tube. Our seatpost and setback guide covers the fore and aft side.
Write your numbers down
Once your height is right, measure it and keep it somewhere you will find it: a note on your phone, or a photo of the tape measure against the bike. Record the bottom bracket to saddle top distance, and while you are there, the saddle setback and the drop from saddle to bars.
Those numbers let you set up a new bike, a hired bike on holiday, a trainer or a gym spin bike in minutes rather than starting from scratch, and they let you get back to a known good position after the bike has been packed for travel or serviced.
FAQ
Is saddle height the same on road, gravel and mountain bikes?
For seated pedalling it should be very close across all three, because your leg length and the knee bend you are aiming for do not change with the bike. Small differences come from shoes, pedals and crank lengths, which is why the same rider often ends up a few millimetres apart between bikes. The exception is mountain biking on descents, where riders drop the saddle out of the way, usually with a dropper post, and return it to full pedalling height for the climbs.
Can the wrong saddle height cause lower back pain?
It can contribute, most often when the saddle is too high: your hips rock to reach the pedals, and that side-to-side movement loads the lower back on every stroke. Lower back pain on a bike more commonly comes from reach, meaning bars that are too far away or too low, so check both. If back pain persists after sensible adjustments, get a proper fit, and if it continues off the bike too, see a physiotherapist rather than continuing to adjust the bike.
Should my indoor trainer or a gym spin bike use the same saddle height?
Yes: your leg does not know whether you are indoors or outdoors, so the same bottom bracket to saddle top measurement applies. On your own bike on a trainer it is simply the same setting. Gym spin bikes use numbered adjustment positions and different crank and pedal setups, so bring your measurement and a small tape rather than guessing, and set the saddle to the same distance from the pedal axle at the bottom of the stroke.
Why does my saddle height suddenly feel wrong when nothing has changed?
Something usually has changed, just not something you adjusted: a seatpost that has crept down, new shoes or cleats, a worn cleat, or a saddle that has been knocked. Check your tape mark and measurement first. If the bike genuinely matches your recorded numbers, the change may be in you, since flexibility and fatigue vary, especially after time off the bike. Ride the known good height for a few sessions before moving anything, rather than chasing how it feels on one ride.
My saddle keeps slipping down. What should I do?
Clean the seatpost and the inside of the seat tube, apply carbon assembly paste, and retighten the clamp to its printed torque rather than cranking it harder. Paste adds friction so the post holds at the correct torque, which is the right fix on carbon and works well on alloy too. If it still slips, check the clamp and seatpost diameter are correct for the frame, since a post even slightly too small will never hold, and overtightening to compensate risks cracking the frame.
When to get a fit
Setting saddle height yourself handles most riders well. If you have persistent knee pain, a leg length difference, an injury history, or you have adjusted methodically and still cannot get comfortable, a professional fit is the next step. We do fits at our Kondapur store, and the details are on our bike fit page.
Not sure where to start? Ask TBA Guide with your inseam and the bike you ride, and we will give you a starting height to try.