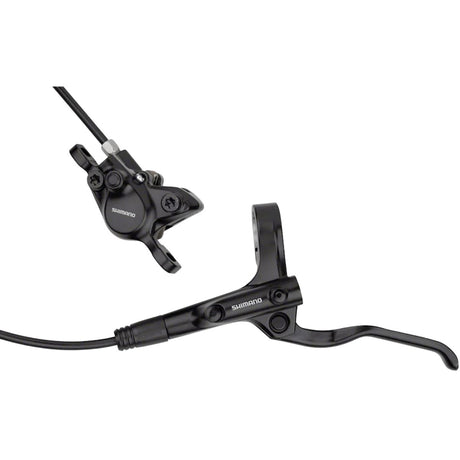
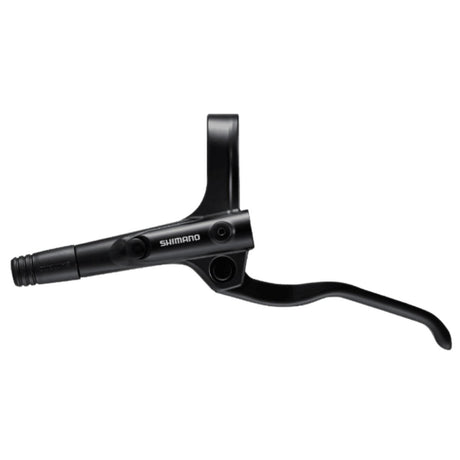
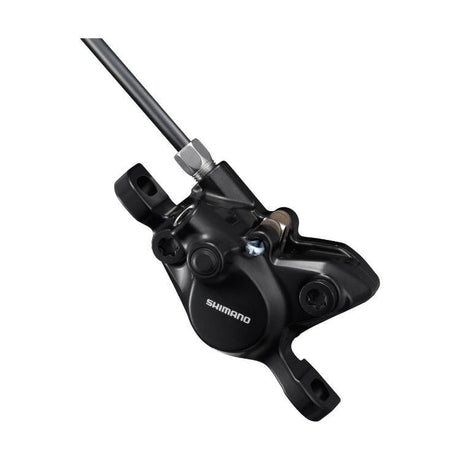
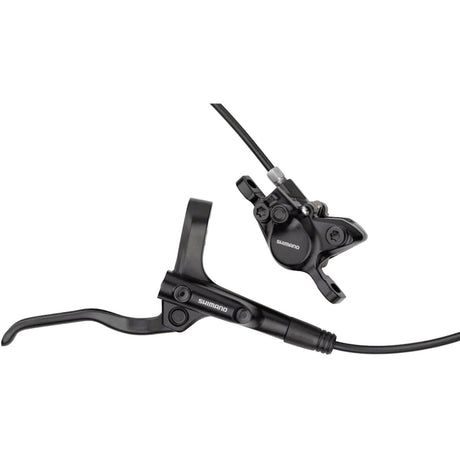
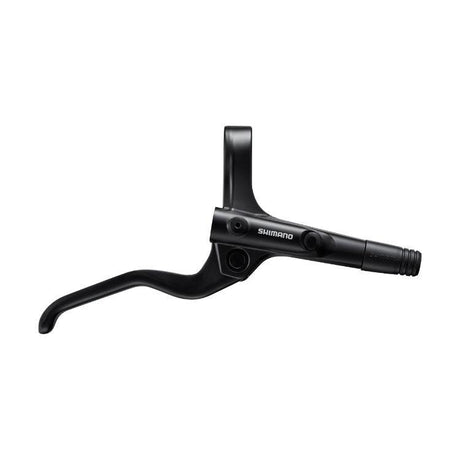
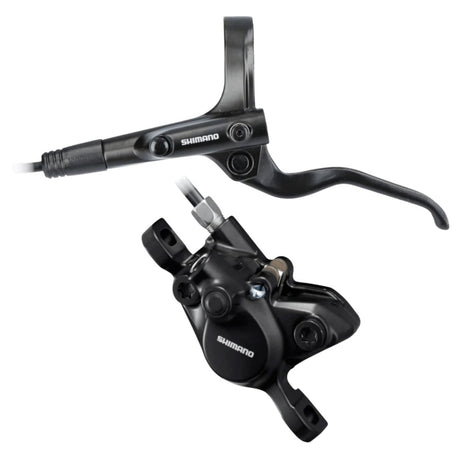
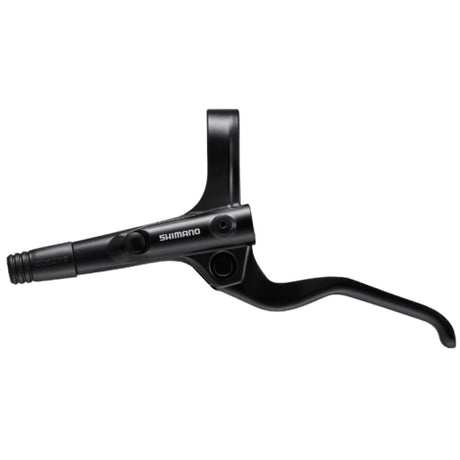
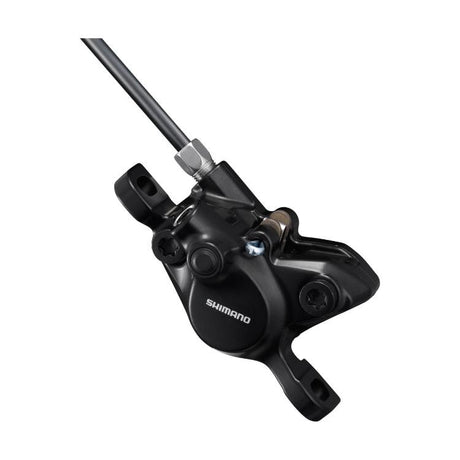
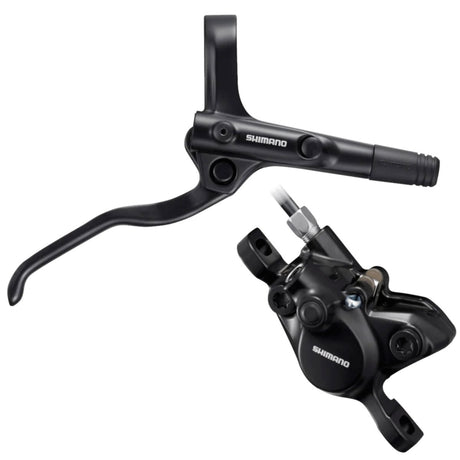
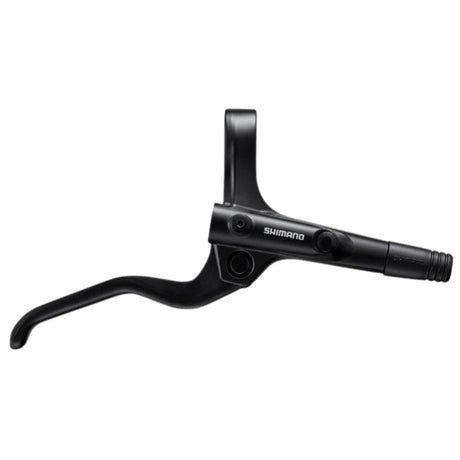
Short answer: the Shimano MT200 and MT201 are the same brake with a different lever blade. Both use the same two-piston BR-MT200 caliper, the same mineral oil and the same pads. The MT200 lever blade is steel and the MT201 is aluminium, and in Indian monsoon humidity a steel blade will eventually rust. For about ₹470 more per brake, the MT201 is the one we would buy. Either is the cheapest proper hydraulic brake you can fit to a flat-bar hybrid or mountain bike, provided the frame already has disc mounts.
- What the MT200 and MT201 actually are
- The one real difference
- Front and rear are sold separately
- Will it fit your bike?
- The catch on entry-level bikes
- Rotors are not included
- Fitting and bleeding
- What the whole upgrade costs
- Is it worth it?
- FAQ
- Checking it fits
What the MT200 and MT201 actually are

These are Shimano's entry-level hydraulic disc brakes, fitted as standard to a great many hybrids and entry mountain bikes, and the most common upgrade for anyone moving off cable-operated disc brakes.
Each set is one complete brake for one wheel: a lever, a hose and a caliper, already filled with fluid and bled at the factory. The names come from the lever: BL-MT200 or BL-MT201. The caliper in both is the BR-MT200.
| MT200 set | MT201 set | |
|---|---|---|
| Lever | BL-MT200 | BL-MT201 |
| Lever blade | Steel | Aluminium |
| Lever style | Three-finger, adjustable reach | Three-finger, adjustable reach |
| Caliper | BR-MT200, two pistons | BR-MT200, two pistons |
| Mount | Post mount | Post mount |
| Fluid | Shimano mineral oil | Shimano mineral oil |
| Pads | B01S resin | B01S resin |
| Rotors included | No | No |
The one real difference
Strip away the listings and the difference between the two is the lever blade: steel on the MT200, aluminium on the MT201. The hydraulics, the caliper and the stopping power are the same.
That sounds trivial until you ride through a monsoon, or park the bike somewhere humid near the coast. A steel blade rusts. Slowly, and cosmetically at first, but a lever you touch on every ride ends up pitted and rough. An aluminium blade does not.
The aluminium blade is also a little lighter and nicer to hold, though you would struggle to feel that in a blind test. Rust resistance is the reason to choose it.
Our view: the MT201 costs about ₹470 more per brake. On a bike that lives in India and gets ridden through the wet season, that is money well spent. If the bike is kept indoors and ridden only in dry weather, the MT200 is perfectly good.
Front and rear are sold separately
This catches a lot of people out. Each listing is one brake, not a pair, and the front and rear versions are different products.
- Front uses the left-hand lever and a short hose, about 1000mm.
- Rear uses the right-hand lever and a long hose, about 1700mm, to reach the back of the bike.
Both are sold as a left lever for the front brake and a right lever for the rear. If your bike has its brakes set up the other way round, mention it before ordering and we will advise.
| Front | Rear | |
|---|---|---|
| MT200 | ₹2,200 | ₹2,400, currently unavailable |
| MT201 | ₹2,670 | ₹2,860 |
If you want a rear brake right now, the MT201 is the one available. You can mix an MT200 front with an MT201 rear and it will work perfectly, since the hydraulics are identical, but the two levers will look and feel slightly different under your fingers.
Will it fit your bike?
Four things decide it. Check them all before ordering.
- Your bike must already have disc brakes, meaning disc mounts on the frame and fork and hubs that take a rotor. A bike with V-brakes or rim brakes cannot be converted, because there is nothing to bolt a caliper to. Our brake compatibility guide explains why.
- The mounts must be post mount. Most hybrids and mountain bikes with disc brakes use post mount. Most modern road and gravel bikes use flat mount, which the MT200 caliper does not fit.
- Your handlebar must be flat. These levers clamp to a flat or riser bar. They cannot be fitted to drop handlebars, where the brake is built into the shift lever.
- Rotor size. The caliper suits 160mm and 180mm rotors. Going to a larger rotor than your fork or frame was built for usually needs a mounting adapter.
The catch on entry-level bikes
This is the part nobody mentions until the bike is half stripped.
Many entry-level hybrids and mountain bikes use combined shift and brake levers: one unit on each side of the handlebar that both changes gear and pulls the brake cable. Shimano's Tourney EF41 and EF500 levers are common examples.
The MT200 and MT201 are brake levers only. If your bike has combined levers, fitting hydraulic brakes means you also need separate shift levers to change gear. That adds cost and work, and it is worth knowing before you order the brakes.
How to tell: if the gear shifter and the brake lever on your handlebar are one piece, you have combined levers. If they clamp separately, you are fine.
Rotors are not included
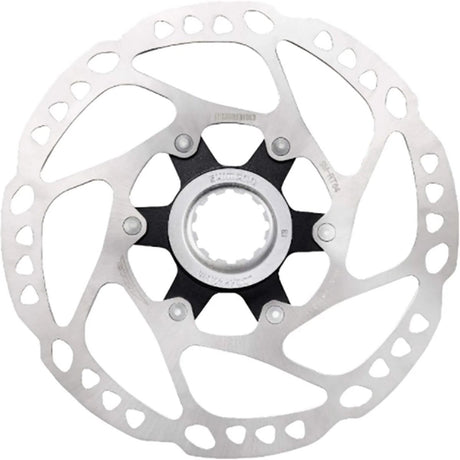
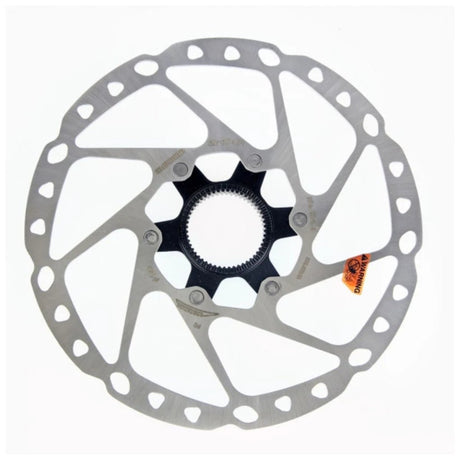
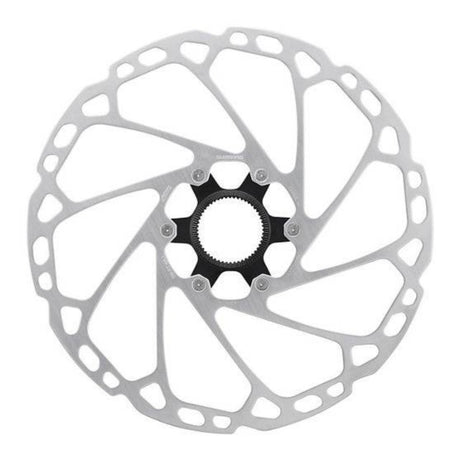
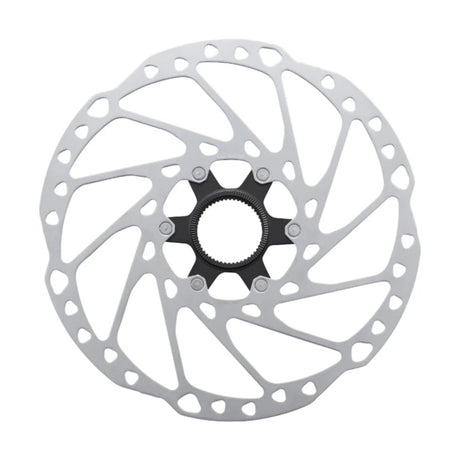
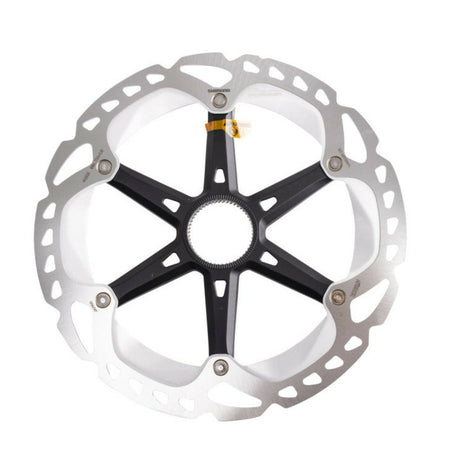
The sets come without rotors. If your bike already has mechanical disc brakes, you can usually keep your existing rotors, provided they are straight, not badly worn, and 160mm or 180mm.
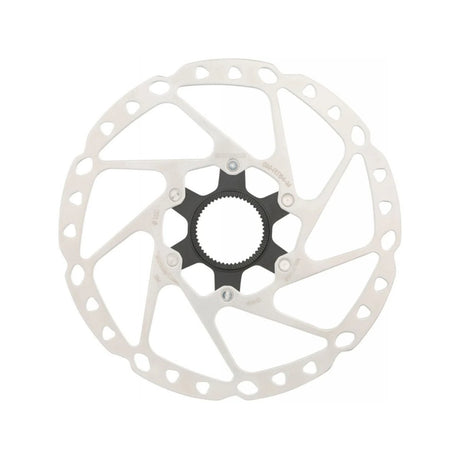
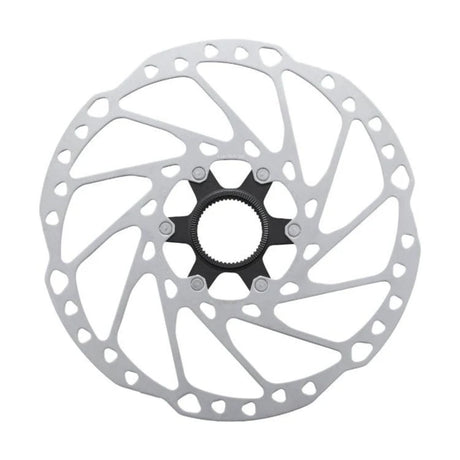
If you need new ones, match the rotor to your hub, because there are two fixing types.
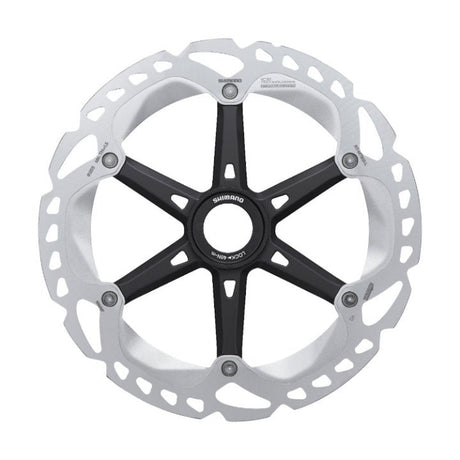
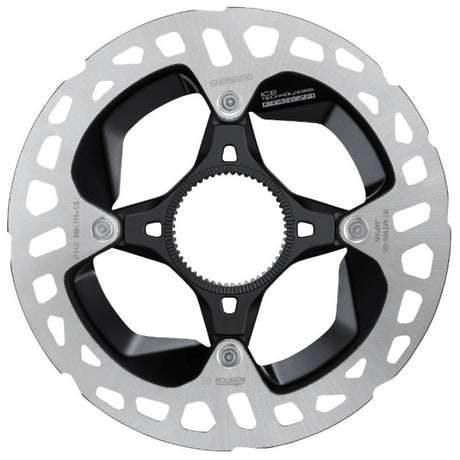
- 6-bolt hubs, with six small bolts around the centre: the Shimano SM-RT56 at ₹1,090 is the natural partner for resin pads.
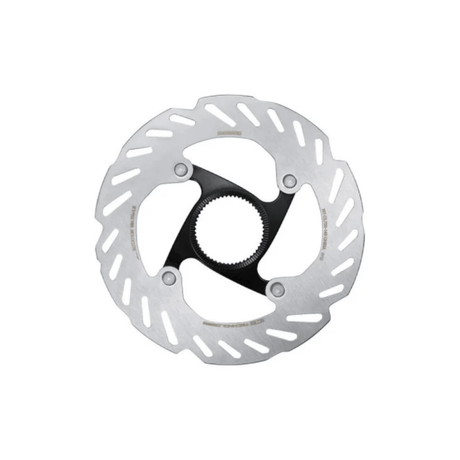
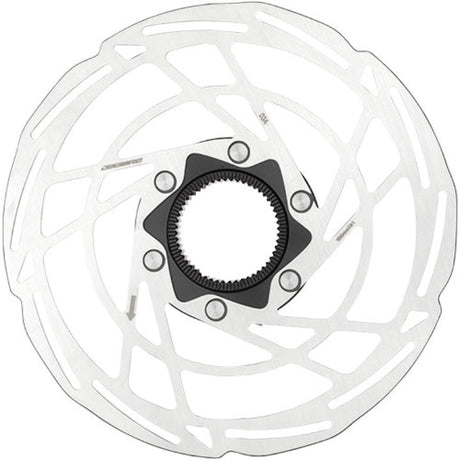
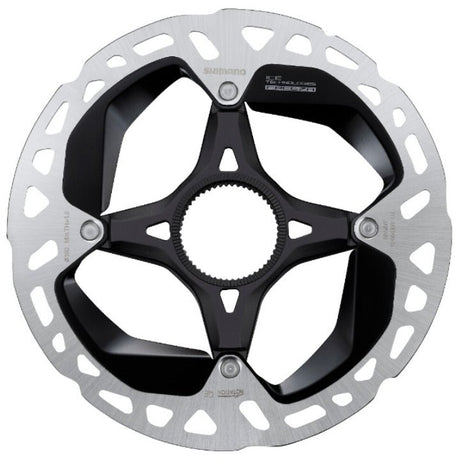
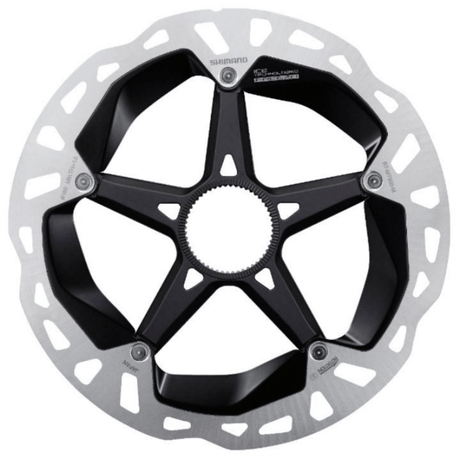
- Centerlock hubs, with a single splined lockring: the Tektro TR-35 at ₹1,200 fits these.
Our rotor standards guide covers sizes and adapters in more detail.
Fitting and bleeding
Because the brakes come already filled and bled, fitting one is mostly a matter of bolting the caliper to the frame, clamping the lever to the bar and routing the hose.
The step that needs care is hose length. The rear hose in particular is often longer than your bike needs. Cutting it to length requires fitting a new olive and connector insert, and usually a small bleed afterwards to clear any air. It is not difficult with the right tools, but it is easy to get wrong without them, and a hydraulic brake with air in it is a brake that does not work properly.
If you do it yourself, remember that these brakes use mineral oil only. Never top up or bleed with DOT fluid, which destroys the seals. Alligator mineral oil at ₹690 is compatible.
For most riders, having the brakes fitted in a workshop is the sensible choice. Once they are set up, they need very little attention.
What the whole upgrade costs
| Upgrade | Brakes | Roughly, with new 6-bolt rotors |
|---|---|---|
| Front only, MT201 | ₹2,670 | About ₹3,760 |
| Both wheels, MT201 | ₹5,530 | About ₹7,710 |
| MT200 front and MT201 rear | ₹5,060 | About ₹7,240 |
Keep your existing rotors and the brakes alone are the cost. Add fitting, and separate shifters if your bike has combined levers.
Prices are indicative and move with exchange rates and import duty.
Is it worth it?
If your bike has cable-operated disc brakes, yes, and it is one of the best-value upgrades there is.
- Less hand effort. A hydraulic brake needs a fraction of the force a cable brake does. In traffic, where you ride with fingers covering the levers for an hour, that matters.
- Better control. Hydraulics let you brake gently and precisely rather than on or off, which is what keeps you upright on a wet road.
- Consistent through the monsoon. A cable brake gets steadily worse as grit and water work into the cable housing. A sealed hydraulic system is not affected.
- Self-adjusting. As the pads wear, hydraulic brakes take up the slack themselves. Cable brakes need regular adjustment.
The honest limits: these are entry-level brakes, with two pistons and resin pads. They are ideal for commuting, fitness riding and light trails. For long steep descents, heavier riders or serious mountain biking, a four-piston brake is the step up, and resin pads can fade if you drag them down a long ghat road.
FAQ
Can I upgrade just the front brake to hydraulic and keep the rear as it is?
Yes, and it is a sensible way to start: the front brake does most of the stopping on any bike, so upgrading it alone gives you most of the benefit for half the cost. The two brakes do not need to match. The only thing to watch is the different feel between a hydraulic lever and a cable lever, so give yourself a few rides to adjust before relying on it in traffic. Upgrade the rear later when budget allows.
How often do MT200 brakes need bleeding?
Rarely: mineral oil does not absorb moisture from the air the way DOT fluid does, so a sealed Shimano system can go a long time without a bleed. The sign it needs one is a lever that feels spongy or comes too close to the handlebar, but check the pads first, because worn pads cause the same symptom and are far more common. Bleed only when the pads are healthy and the lever still feels soft.
Which replacement pads does the MT200 caliper take?
The BR-MT200 comes with Shimano B01S resin pads, which use Shimano's B-type pad shape, and replacements must be the same shape. A pad that looks close but is a different shape will not fit the caliper or will not retract properly. Resin pads suit this brake well, being quiet and gentle on rotors. Tell us your caliper model when you need replacements and we will match the pad rather than you having to guess.
Are MT200 brakes good enough for mountain biking?
For light trails and cross-country riding, yes; for long steep descents or aggressive riding, a four-piston brake is the better choice. The MT200 is a two-piston brake with resin pads, which gives plenty of power for most riders but can fade when heated by sustained braking on a long descent. Heavier riders feel that limit sooner. If most of your riding is road, commuting and gentle trails, the MT200 is more than enough.
Why do my new hydraulic brakes squeal?
Usually because the pads have not been bedded in, or because oil or grease has reached the pads or rotor. New pads need bedding in: ride to a moderate speed and brake firmly to a near stop, ten to twenty times, without locking the wheel. Never touch the rotor with your fingers or spray lubricant near the brakes. If squealing continues after bedding in, the pads are probably contaminated, and contaminated resin pads need replacing rather than cleaning.
Checking it fits
The quickest way to be sure is a photograph of your current brake lever and caliper. Ask TBA Guide with your bike's make and model and a photo, and we will tell you whether it fits, which side you need, and whether you need separate shifters.