Almost every rider who comes into the shop says they know how to change a tube. Most of them do, roughly. What they don't have is a method, so the job takes twenty-five minutes on the roadside instead of eight, and about one in three of them punctures again within a few kilometres because they skipped the step that actually matters.
This is that method. It assumes clincher tyres with inner tubes, which is what the large majority of road bikes in India are still running.
What you need to be carrying
You can't fix a puncture with things you left at home. The minimum kit is a spare tube, two tyre levers, and a way to put air in. Everything beyond that is convenience.
On levers, buy plastic ones and buy a set of three. Metal levers will chew up an alloy rim bead seat and can crack a carbon one. The Birzman set is ₹315 and has a hook on the end that clips onto a spoke, which frees up your hands. Cheap levers snap when the tyre is tight, usually at the worst possible moment, so this is not a place to save a hundred rupees.
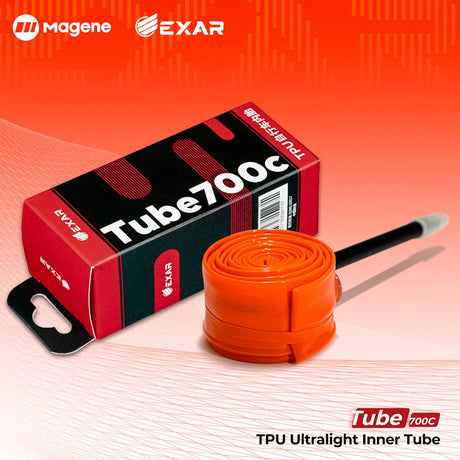
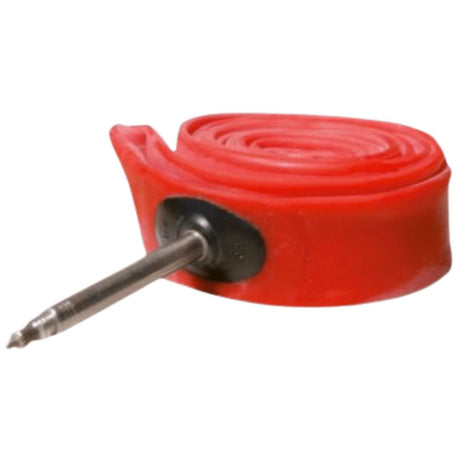
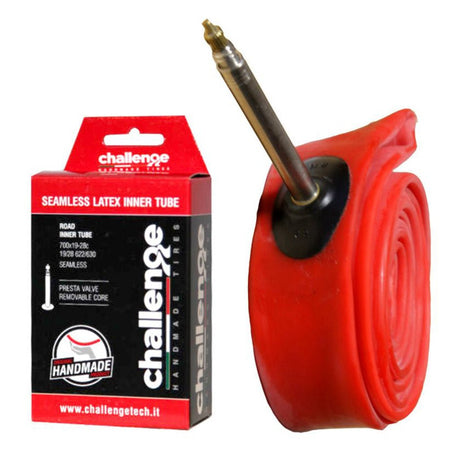
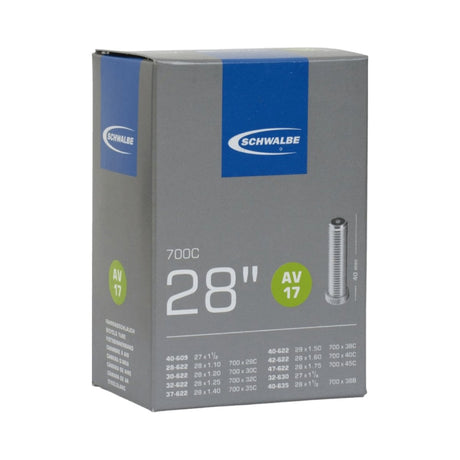
On tubes, carry the right size. A 700x23/28c tube covers most road tyres. Check what's written on your tyre sidewall before you buy, and check the valve length against your rim depth. This catches people out constantly: a 40mm valve on a 50mm deep rim leaves you with a tube you physically cannot inflate. Anything over about 40mm of rim depth wants a 60mm valve, or a valve extender. Browse road tubes here.
Getting air back in: three ways
This is where riders have genuine choices now, and the right answer depends on how you ride rather than on which option is objectively best.
A hand pump never lets you down. No battery, no cartridge, nothing to run out of. It will get you to 80–90 psi if you're patient and the pump is decent, though on a narrow road tyre that means a couple of minutes of fairly hard work. The Lezyne HP Drive at ₹1,557 or the Grip Drive HP at ₹1,770 both fit in a jersey pocket. If you'd rather know your pressure than guess by thumb, the Giyo GM-71 Micro Floor Pump has a built-in gauge for ₹1,800.
CO2 is the fastest. Thirty seconds and you're at full pressure, which matters if it's raining or you're holding up a group. The catch is that each cartridge is one shot. Miss the seating, or leak gas fumbling the head onto the valve, and it's gone. Carry two if you're relying on it. A Birzman E-Grip Turn is ₹1,225 and lets you meter the flow rather than dumping the whole cartridge in one go, which is where the cheap push-on heads catch people out.
Electric mini pumps have changed this calculation over the last couple of years, and they're worth understanding properly because most riders still haven't tried one.
You clip the hose onto the valve, set a target pressure, press go, and it stops itself when it gets there. No effort, no guessing, and unlike CO2 you get more than one attempt. If you mis-seat the tyre and have to let the air out and start again, that costs you nothing. A charge will typically do two road tyres from flat, sometimes three, so a second puncture on the same ride isn't a problem.
The tradeoffs are real though. It's a battery, so it needs charging and it will be flat when you forget. They're heavier than a CO2 head and cartridge, and they warm up noticeably if you run them continuously, so on a high-volume gravel or MTB tyre you're better off giving them a rest partway through rather than going flat to full in one go. They also have a finite service life, which our guide to electric pumps covers in detail.
For sizing, the Cycplus Topump AS200 at ₹3,800 or the Topump TP100 at ₹3,592 are the sensible entry point and roughly the price of a decent hand pump plus a season of cartridges. Step up to the Anoutway AS210 Pro at ₹5,272 or the Topump AS200 Pro at ₹5,032 and you get faster inflation and better battery life. The AS2 Pro Max at ₹9,375 is the one for people who want the smallest possible package and will pay for it - it's genuinely tiny for what it does.
Practically: if you ride short distances and rarely flat, a hand pump is fine and always will be. If you race or ride in groups where stopping time matters, CO2. If you do long solo rides and the idea of hand-pumping to 90 psi at the roadside fills you with dread, get an electric one and charge it the night before a big ride. Plenty of riders now carry an electric pump as primary and one CO2 cartridge as the emergency backup, which is a sensible combination.
Getting the wheel off and the tyre open
Shift onto the smallest sprocket before you take the rear wheel out. It moves the derailleur out of the way and makes putting the wheel back in far easier. If you've got rim brakes, open the brake quick-release or the tyre won't clear the pads.
Let out any remaining air, then push the tyre bead away from the rim wall all the way round on both sides. This step feels pointless and it isn't. Modern tyres seat firmly against the rim shoulder, and unseating the bead by hand first can be the difference between the tyre lifting off easily and you fighting it for five minutes.
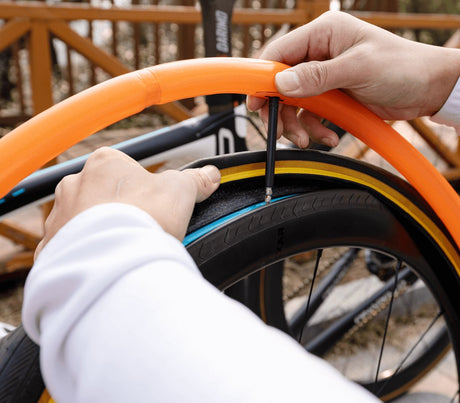
Work opposite the valve. Slide one lever under the bead, hook it to a spoke, then put the second lever in about 10cm along and run it round the rim. Once one side is off, you can pull the tube out by hand. Push the valve up through the rim hole rather than yanking the tube - valve stems tear off surprisingly easily.
The step everyone skips

Before the new tube goes anywhere near the wheel, find out what caused the puncture.
Run a finger slowly round the entire inside of the tyre. Do it carefully, because whatever went through is probably still in there and it's sharp. A thorn, a shard of glass, a wire from a truck tyre. On Indian roads it's very often a fine sliver of steel from a shredded radial, which is almost invisible from the outside and will destroy your new tube within two kilometres.
If you can't find anything, this trick narrows it down. Take the punctured tube and inflate it slightly until you can locate the hole. Then hold the tube against the wheel, lining up the tube's valve with the rim's valve hole. Wherever the hole in the tube sits, the cause is directly under that point in the tyre. It sounds fussy but it takes fifteen seconds and it works.
Two holes side by side, roughly a few millimetres apart, means a pinch flat. Nothing is stuck in the tyre. You hit something hard and the tube got crushed between the obstruction and the rim, which almost always means your pressure was too low.
A hole on the rim side of the tube rather than the tread side points at the rim tape. Check that it's centred and hasn't shifted to expose a spoke hole.
Putting it back together

Put just enough air in the new tube to give it shape. Not more. A flaccid tube folds over on itself and gets pinched under the bead; an over-inflated one won't fit into the tyre casing.
Valve in first, seated straight through the rim hole. Then work the tube into the tyre all the way round. Then start refitting the bead, beginning at the valve and working both hands away from it in opposite directions.
The last section is always the tight bit. Before you reach for a lever, go back round the wheel and push the already-seated bead down into the centre channel of the rim. The rim is deeper in the middle than at the edges, and using that extra few millimetres of slack is usually enough to get the final section on with your thumbs. Most people don't know the channel is there and end up levering the tyre on, which pinches the tube and puts you straight back to a flat.
If you genuinely can't do it by hand, use one lever gently, and keep the tube pushed away from the bead as you go.
Then check the whole rim on both sides for tube poking out from under the bead before you inflate. Ten seconds. A tube that gets pinched here blows out with a bang once you hit full pressure, and you've now used your spare.
Inflating
Bring it up to about 20 psi first and check the bead is sitting evenly. Most tyres have a moulded line just above the rim edge - that line should be an equal distance from the rim the whole way round. If it dips in somewhere, let the air out and reseat that section. Then go to full pressure.
For most riders on 25 or 28c tyres, that's somewhere in the 80–95 psi range depending on your weight. The number printed on the sidewall is a maximum, not a target, and running at the maximum on Indian roads gives you a harsh ride and worse grip for no real speed benefit. Our guide to what tyre pressure you should actually run has a full table by rider weight and tyre width.
With CO2, remember the gas escapes through the tube walls faster than air does. The tyre will be soft by tomorrow morning. Top it up with a floor pump when you get home. Air from a hand pump or an electric pump doesn't do this, so a normal top-up interval applies.
Patching versus replacing
Don't patch on the roadside. Swap the tube, get home, patch it there in comfort where you can let the glue cure properly.
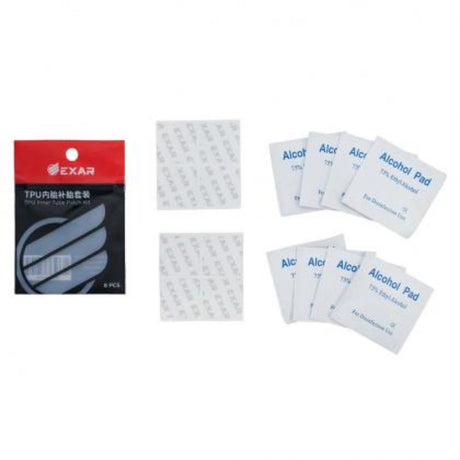
A patched tube is perfectly reliable if the patch is done well. Rough up the area around the hole, apply a thin layer of vulcanising fluid, wait until it goes tacky rather than sticking it on wet, then press the patch down firmly for a minute. The waiting is the part everyone rushes, and it's why most home patches fail.
Patch a tube twice and then retire it. Also retire any tube with a hole near the valve base - that area flexes and patches won't hold there.
The things that go wrong
Riding on low pressure is the single biggest cause of avoidable flats. Check your tyres before every ride, not once a week. A road tyre loses meaningful pressure in three or four days just sitting there.
Worn tyres puncture far more often, and the wear is usually invisible until you look properly. Check the tread for embedded grit and small cuts every few weeks and pick out anything lodged in there before it works its way through.
And carry the spare tube in something. A tube rattling loose in a jersey pocket for six months gets chafed and will have a hole in it by the time you need it. A saddle bag, or even a plastic bag, keeps it usable.
The first few times you'll be slow. That's fine. Do it once in your home before you have to do it on the roadside at dusk. Eight minutes is a reasonable target once you have the sequence down.
If you'd rather have someone show you in person, come by the shop in Kondapur and we'll walk you through it on your own wheel. Or, if you're not sure which tube size or valve length your bike needs, ask TBA Guide with your tyre size and rim depth.
FAQ
How long should it take to change a bike tube?
Around eight minutes once you have the sequence down, and fifteen to twenty the first few times. Most of the time saved comes from not fighting the tyre: unseating the bead by hand before using levers, and using the rim's centre channel when refitting rather than levering it back on.
How many spare tubes should I carry?
One for rides up to about 60km, two for anything longer or more remote. A patch kit is a sensible third layer on long rides since it weighs almost nothing. Riders doing brevets typically carry two tubes plus patches, because a second puncture far from anywhere is a long walk.
Can you patch a tubeless tyre?
Yes. Small punctures usually seal themselves with sealant. Larger holes need a tubeless plug inserted from the outside, which is a roadside fix. A cut the plug will not hold needs an internal patch applied to a clean, dry casing at home, or a tube fitted to get you back.
Can you ride on a flat tyre?
No, not even a short distance. Riding on a flat destroys the tyre casing and can permanently damage the rim, which costs far more than the tube. If you have no repair option, walk. On a tubeless setup with sealant, a slow leak you keep topping up is different from riding fully flat.
Do puncture-resistant tyres actually work?
Yes, meaningfully. A belted tyre with a reinforced casing dramatically reduces punctures from glass, thorns and wire. The tradeoff is weight and a slightly harsher ride, since the belt reduces suppleness. For commuting and winter training the tradeoff is usually worth it; for racing it usually is not.
Is tyre sealant worth using with inner tubes?
It helps with small thorn and glass punctures but not with pinch flats or cuts. Sealant adds weight, does not last indefinitely, and makes a later patch repair messier. Most riders are better served by correct tyre pressure and a decent tyre than by sealant inside a tube.
How do I know if the tyre or the tube is the problem?
Inflate the removed tube to find the hole, then hold it against the wheel with its valve aligned to the valve hole. Whatever caused it sits directly under that point in the tyre. If you find nothing embedded there and the tube has two holes side by side, it was a pinch flat, not the tyre.
Why do I keep getting punctures in the same tyre?
Almost always something still embedded in the casing that you missed. Run a finger slowly around the entire inside of the tyre, carefully, because whatever is in there is sharp. Fine steel wire from shredded truck tyres is the usual culprit on Indian roads and is nearly invisible from outside.