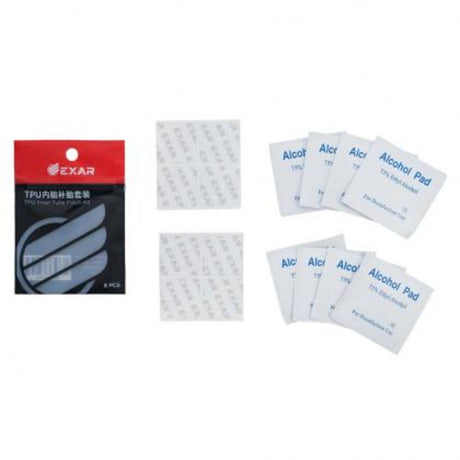
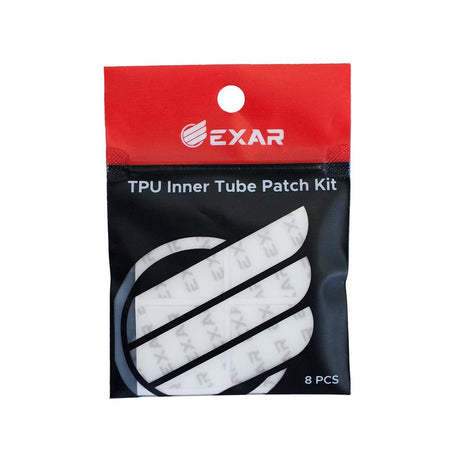
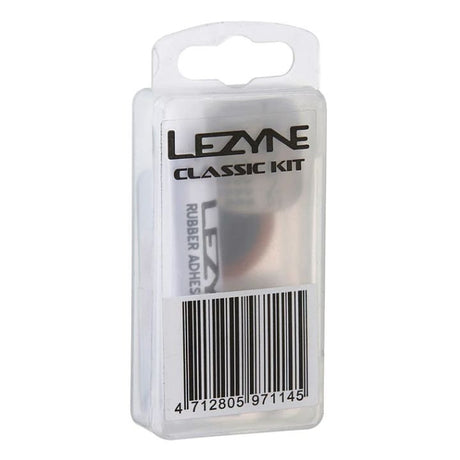
Short answer: most tubeless punctures fix themselves. Turn the wheel so the hole sits at the bottom, let the sealant pool over it for 20 seconds, then top up the pressure and ride. If it keeps hissing, the hole is too big for sealant, and a tubeless plug will close holes of roughly 2 to 6mm in a couple of minutes without taking the wheel off. A sidewall cut or a slash too big to plug needs a tyre boot and a spare tube to get you home.
Tubeless is the best answer to thorns and glass on Indian roads, but sooner or later you will get a puncture that sealant alone does not close. This guide covers what to do in the first minute, which fix suits which hole, how to fit a plug properly, how to fall back to a tube, and how to make the repair permanent at home.
- The first minute
- Which fix for which hole
- How to plug a tubeless tyre
- Plug kits compared
- When to fit a tube instead
- After the ride
- FAQ
- Getting help
The first minute
When you hear a hiss or feel the tyre go soft, stop somewhere safe and give the sealant a chance before reaching for tools.
- Find the hole. Look for sealant bubbling or spraying from the tread. If something is still stuck in the tyre, note where it is, then pull it out.
- Turn the hole to the bottom. Rotate the wheel so the puncture sits at the six o'clock position, where the sealant collects. Hold it there for 15 to 20 seconds.
- Spin and bounce. Spin the wheel and bounce the bike gently so sealant is pushed into the hole. A hole often seals more easily once some pressure has gone, so do not panic if the tyre is soft.
- Top up and ride. Add air with a pump or CO2 and ride on at a slightly lower pressure for the next few kilometres. Check the tyre again after ten minutes.
If sealant keeps spraying after two or three attempts, the hole is too large, or the sealant has dried out. It is time for a plug.
Which fix for which hole
| Damage | Fix | Notes |
|---|---|---|
| Thorn or glass hole under about 2mm | Sealant | Usually seals on its own within seconds if there is enough fresh sealant in the tyre. |
| Hole or short slit in the tread, about 2 to 6mm | Plug | The classic plug repair. Takes a couple of minutes and the wheel stays on the bike. |
| Longer slit in the tread | Two plugs side by side, or a boot and tube | Two plugs often close a slit that one cannot. If it still leaks, fit a tube. |
| Cut in the sidewall | Boot and tube | Plugs rarely hold in the thin, flexing sidewall. Fit a tube behind a boot to get home, then replace the tyre. |
| Air escaping at the rim edge | Reseat the bead | The tyre has "burped" after a hard hit. Reinflate quickly to push the bead back into place. |
| Air escaping at the valve | Check the valve | Make sure the lock ring is finger tight and the valve core is screwed in fully. |
How to plug a tubeless tyre
These steps are for the common strip-style plug, which most kits use. Anchor-style plugs such as the WTB Rocket work the same way, but the anchor stays inside the tyre.
- Leave some air in the tyre. Keeping some pressure makes the hole easier to find and gives the plug something to push against. Do not take the wheel off.
- Clear the hole. Remove whatever caused the puncture. If your kit includes a reamer or file, push it into the hole once or twice to clean and shape it. Do not keep enlarging it.
- Load the plug. Thread a plug strip through the eye of the insertion tool so it sits centred, with equal tails on each side.
- Push it in. Push the tool straight into the hole until about two thirds of the plug is inside the tyre and the tails stick out. Do not push the whole plug in.
- Pull the tool out. Pull the tool straight out in one smooth movement. The plug stays in the hole, folded over, with two short tails outside.
- Let the sealant finish the job. Spin the wheel with the plug at the bottom so sealant coats it, then inflate. A little sealant may seep around the plug at first. That is normal.
- Trim the tails, or leave them. Tails a few millimetres long wear down on their own. Do not cut them flush, which can let the plug work loose.
On a road tyre, ride home at a slightly lower pressure than usual and check the repair before your next ride. Plugs are designed to be a lasting repair in the tread, but road pressures put more stress on them than mountain bike pressures do.
Plug kits compared

| Kit | Price | What it includes | Best for |
|---|---|---|---|
| IceToolz 65C1 | ₹790 | Plugs, an insertion tool and a reamer in a compact case. | A low-cost kit for any saddle bag. |
| Muc-Off B.A.M | ₹1,530 | A canister that injects sealing foam and air at the same time, for tubed or tubeless tyres. | A fast emergency fix on race days, carried alongside a plug kit. |
| Panaracer MTB Tubeless Repair Kit | ₹1,700 | A complete plug kit sized for mountain bike tyres. | Trail riders. |
| IceToolz A812F Airfill | ₹1,890 | A plug fork, file, five plug strips and a CO2 inflator with two 16g cartridges. | Riders who want plugging and inflation in one slim kit. |
| WTB TCS Rocket Plug Kit | ₹5,750 | Anchor plugs that lock inside the tyre, plus a tool that temporarily plugs the hole while you prepare the repair. | Gravel and long-distance riders who want the most secure roadside plug. |
Prices are indicative and move with exchange rates and import duty. See all tubeless puncture repair kits and plugs.
When to fit a tube instead
If the cut is in the sidewall, or two plugs will not stop the leak, a tube is the way home.
- Find the cause. Run a finger carefully around the inside of the tyre and remove anything still stuck in it.
- Boot any cut. Place a tyre boot inside the casing over the cut, so the tube cannot bulge through it. A Restrap Tyre Boot Kit is made for this, and a folded banknote works in an emergency.
- Remove the tubeless valve and pull out any plugs you fitted, so they cannot puncture the new tube.
- Wipe out the worst of the sealant, fit the tube and inflate.
The step-by-step for fitting the tube itself is in our guide to fixing a puncture on a road bike. For the full list of what to carry on a tubeless setup, see our guide to tubeless setup for Indian roads.
After the ride
- Top up the sealant. A puncture uses up sealant, and some sprays out before the hole closes. Add 20 to 30ml, or check the level with a Milkit syringe kit. Our sealant sizing guide has volumes by tyre width.
- Check the plug. If it is holding pressure overnight, leave it. A plug in the tread often lasts the life of the tyre.
- Make larger repairs permanent. For a bigger hole, remove the tyre and fit an internal mushroom-head plug from inside the casing, such as the Lezyne Tubeless Pro Repair Plugs, which include 3, 3.5 and 4.5mm plugs with cement and abrasive pads.
- Replace the tyre if the sidewall was cut, the casing threads are visible, or the tyre needed several plugs close together.
- Restore your spare. Replace the tube, plugs or CO2 you used before your next ride.
FAQ
How long does a tubeless plug last?
A well-fitted plug in the tread of a tubeless tyre usually lasts for the rest of the tyre's life, because the sealant inside bonds with the plug and seals around it, so many riders never think about the repair again once it has held pressure overnight. Check it after the first ride and before long rides. If it starts weeping air, fit an internal patch or plug from inside the tyre at home.
Why won't my tubeless puncture seal?
The most common reason is dried-out sealant, because in Indian heat latex sealant can dry within six to eight weeks, leaving the tyre looking normal but with nothing liquid inside to seal a hole, and the second most common reason is a hole simply too big for sealant to bridge. Other causes are pressure too high for the hole to close, or a road tyre running a sealant made for mountain bikes. Top up regularly and carry plugs.
Can I use car tyre plugs on a bicycle tyre?
Only as a last resort on wide mountain bike tyres, because car and motorcycle plugs are much thicker than bicycle plugs, and forcing one into a narrow road or gravel tyre can tear the hole larger or damage the casing, turning a pluggable puncture into one that needs a new tyre. Bicycle plug kits cost little and weigh almost nothing. Keep one in your saddle bag rather than relying on a puncture shop's plugs.
Does CO2 affect tubeless sealant?
CO2 is fine for getting home after a tubeless puncture, but some sealant makers advise that the very cold gas can make latex sealant clump or stop working as well, and that CO2 escapes through the tyre casing faster than air, so the tyre will be soft by the next morning. After using CO2, let the air out at home, refill with a pump, and check the sealant level before your next ride.
When should I replace a tyre instead of plugging it?
Replace the tyre when the damage is in the sidewall, when the cut is longer than about 6mm, when the casing threads are visible, or when the tyre already has several plugs close together, because each of these weakens the tyre in ways a plug cannot fix and a failure at speed is dangerous. A worn tyre with flat or squared-off tread is also due for replacement. A single plug in a healthy tread is fine.
Getting help
Not sure whether your tyre is safe to plug, or which kit suits your bike? Ask TBA Guide with your tyre size and the kind of riding you do, and we will help you choose.